How to Go from Template to Wedding: Bringing Your Mood & Marry Design to Life
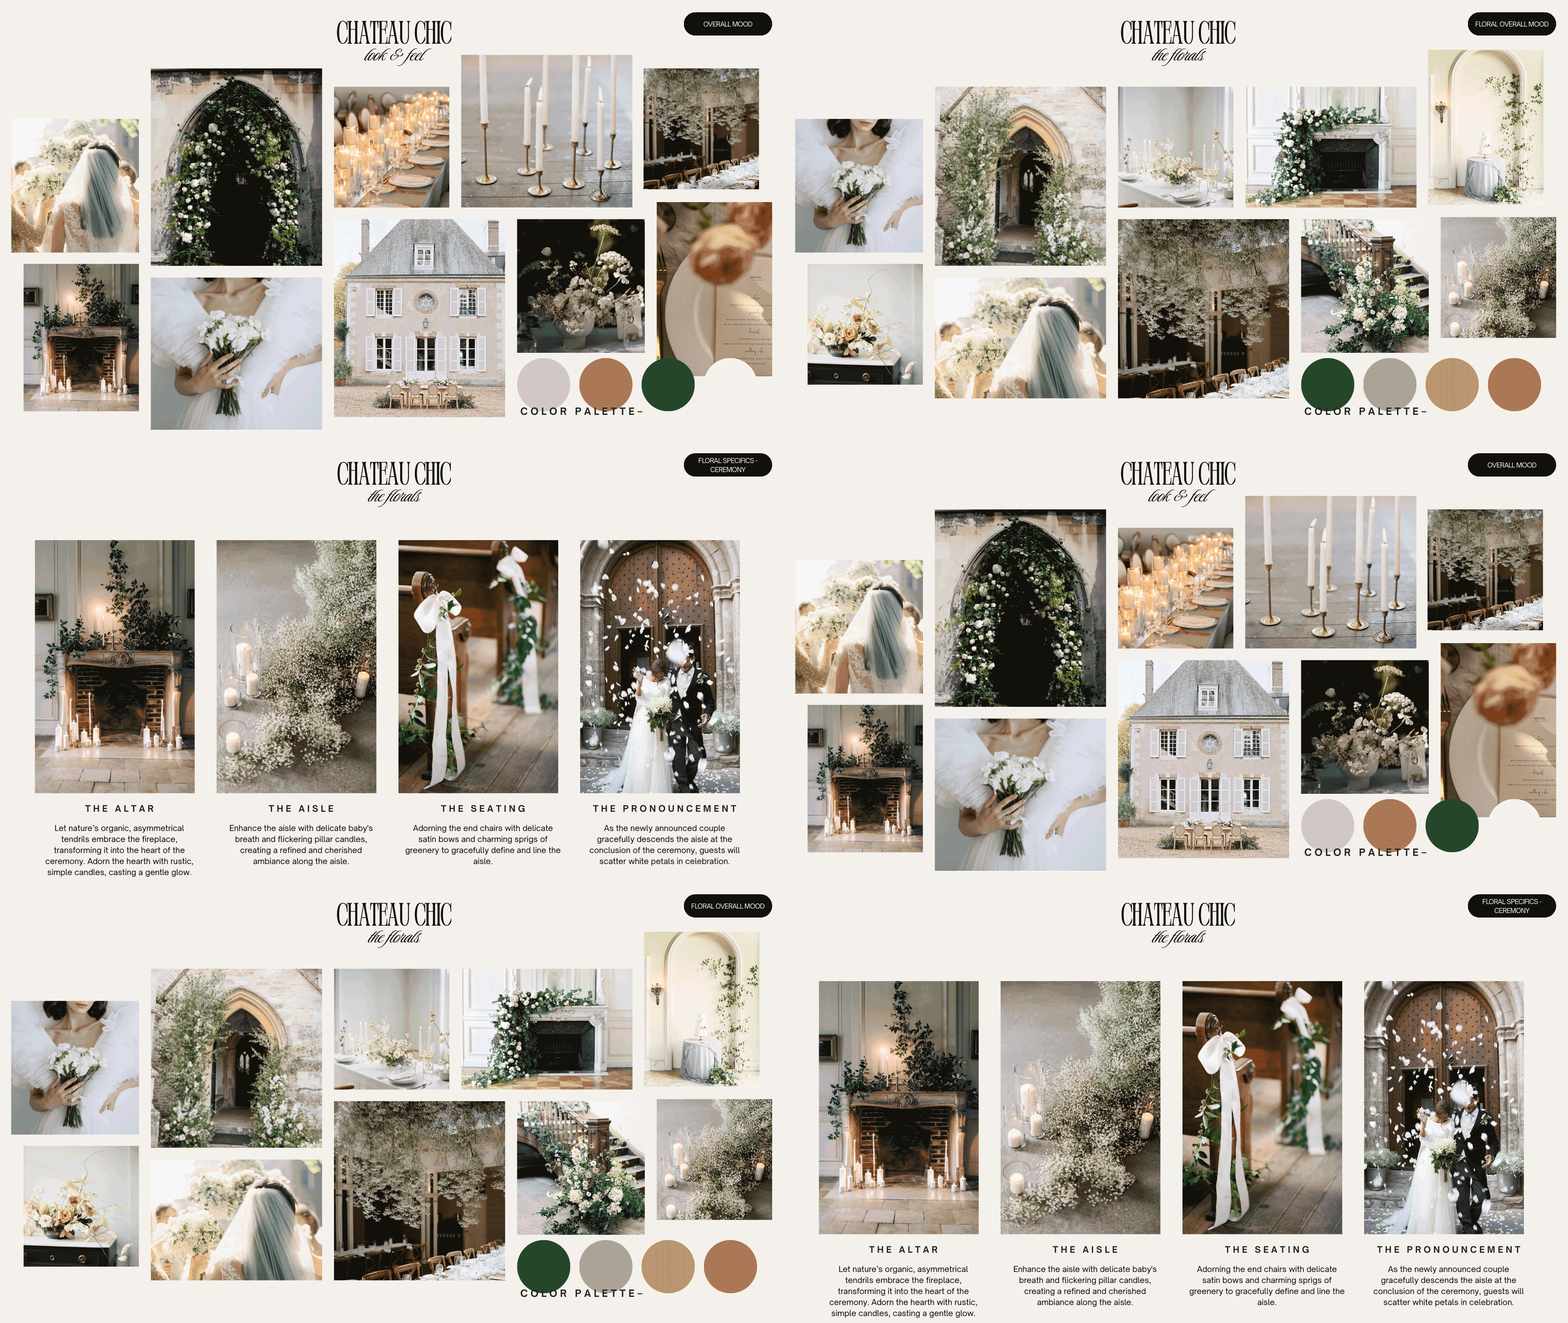
You’ve chosen your Mood & Marry design template. The moodboard is dreamy, the vision feels clear, and you finally feel like you have a plan. But what happens next?
This is your step-by-step guide to taking your editable Canva template and turning it into a real, beautifully executed wedding day—with the help of your vendor team, your timeline, and a little strategic communication.
1. Finalize Your Vision
Once you’ve customized your template with any specific notes, inspiration, or priorities, take time to make sure your design feels cohesive and complete enough to share.
You don’t have to have every tiny detail locked in, but you should have:
A clear aesthetic and tone
Color palette and textures defined
General layout and event flow (ceremony, cocktail hour, dinner, etc.)
Style notes for key areas (florals, tables, signage, etc.)
2. Identify Your Core Vendor Team
Once you have your design mapped out, it’s time to make sure you’re aligned with the right partners.
Start with these vendor categories:
Venue
Florist
Photographer
Planner or day-of coordinator (if applicable)
Rental company
Stationer or signage designer
Not every vendor needs the full design file, but anyone involved in visual execution should absolutely see it.
3. Share the Brief (and Set Expectations)
Send the PDF version of your template to each vendor via email with a short, friendly note:
“Hi [Vendor Name], I wanted to share a design brief I’m working from to help capture the overall tone and feel we’re going for. I’d love for you to take a look and let me know if you have any questions!”
This tells them:
You’ve done your homework
You value clarity and creative alignment
You’re not expecting them to read your mind
4. Schedule a Quick Check-In
Once you’ve sent your brief, book short calls or email check-ins to walk your vendors through the design. Keep it simple and collaborative:
“Here’s what we’re imagining.”
“Here’s where we’re flexible.”
“Here’s what’s most important to us.”
This is your chance to align before production starts.
5. Stay Organized with a Shared Folder
Create a shared Google Drive folder (or Dropbox) labeled something like “Wedding Visuals – [Your Name + Partner’s Name]”. Include:
Your Mood & Marry template (PDF and Canva versions)
Any sketches or venue layout info
Contracts and design-related vendor quotes
6. Give Room for Creativity
Remember: your template is a starting point. Great vendors love direction—but they also thrive when given a little space to innovate. Encourage them to bring suggestions, alternatives, or ideas you might not have considered.
Mood & Marry templates were designed to offer that perfect balance of structure + creative freedom.
7. Trust the Process (and Your Prep)
You did the work. You defined the vision. You briefed your team. At this point—trust it. Your vendors have what they need to bring it to life, and you’ve avoided the confusion and chaos that so often comes with unclear Pinterest boards and DIY planning.
With a Mood & Marry template as your creative guide, you can show up to your day knowing the details were thought through, communicated clearly, and executed with style.
Ready to start your planning process with confidence?
Start with a design template that speaks your language.


